
The Magic of Plant Propagation
Propagation is the process of creating new plants from existing ones, and it is one of the most rewarding skills a plant parent can learn. Not only does it save money — why buy a new plant when you can grow one for free? — but it also deepens your understanding of how plants grow, adapt, and regenerate. There is something genuinely magical about watching a tiny cutting develop roots in a glass of water and then grow into a full-sized, thriving plant. Whether you want to expand your own collection, share plants with friends and family, or simply experiment with the science of plant growth, propagation opens up a whole new dimension of the plant hobby that is both educational and deeply satisfying.
Water Propagation
Water propagation is the easiest and most popular method, perfect for beginners who want to see root development in real time. It works exceptionally well for pothos, philodendrons, tradescantia, arrowhead plants, and many other vining species. Simply cut a stem just below a node — the small bump where leaves emerge from the stem — using clean, sharp scissors. Remove the lower leaves that would be submerged, and place the cutting in a glass or jar of room-temperature water. Change the water every five to seven days to prevent bacterial growth and keep the oxygen supply fresh. Roots typically appear within two to four weeks, and once they reach an inch or two in length, the cutting is ready to be transplanted into potting soil.
Soil Propagation
Some plants root more successfully directly in soil, including coleus, begonias, rubber plants, and many herbs. Dip the cut end in rooting hormone powder — optional but significantly helpful for slower-rooting species — and insert the cutting into moist, well-draining potting mix. Cover the pot with a clear plastic bag or propagation dome to maintain high humidity around the cutting, which prevents water loss through the leaves before roots have formed. Keep the soil consistently moist but not waterlogged, and place the cutting in bright indirect light. After three to six weeks, gently tug the cutting; if you feel resistance, roots have formed and you can gradually remove the humidity cover over the course of a week.
Division
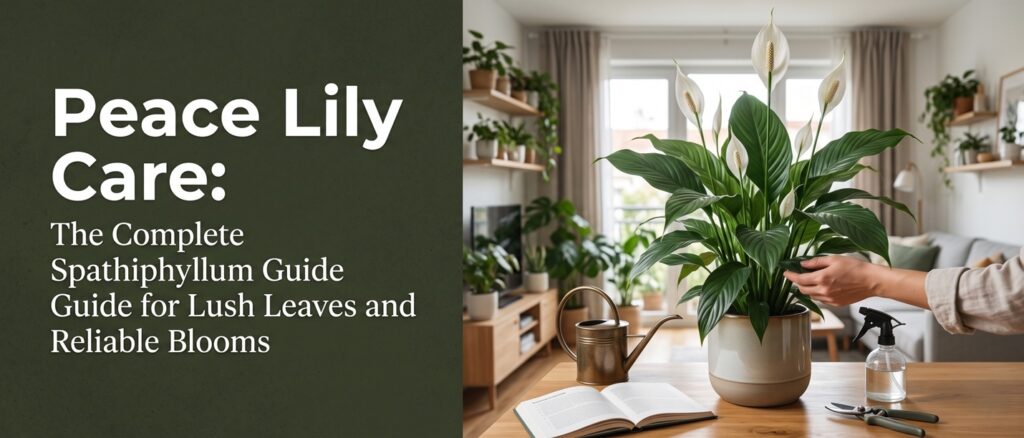
Division is the simplest propagation method for plants that naturally produce multiple stems or grow from clumps. Snake plants, ZZ plants, peace lilies, ferns, calatheas, and many outdoor perennials can all be divided successfully. Remove the entire plant from its pot and gently separate the root ball into two or more sections, each with its own root system and at least a few healthy stems or growing points. Use a clean, sharp knife for tightly rooted plants that cannot be separated by hand. Repot each division in fresh soil at the same depth it was growing before, water thoroughly, and keep in a sheltered location for a few days while the roots re-establish.
Leaf and Offset Propagation
Some plants have specialized propagation methods that are uniquely suited to their growth habits:
- Succulents — Remove a healthy leaf by gently twisting it from the stem, let the end callus for two to three days, then place on dry soil. Roots and baby plants emerge from the callused end within weeks
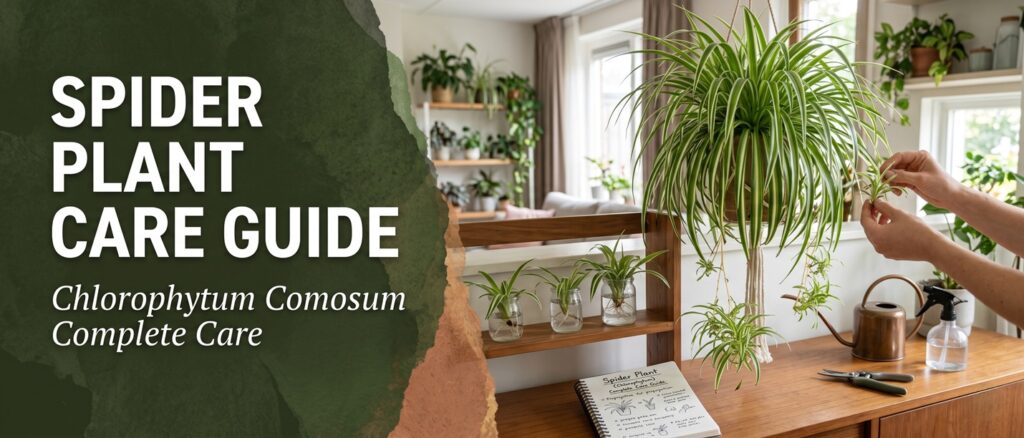
- Spider Plant — Plant the baby spiderettes in small pots of soil while they are still attached to the parent plant. Once rooted, snip the connecting stem
- Aloe Vera — Carefully separate the baby pups from the base of the mother plant, ensuring each pup has some roots attached, and pot individually in cactus soil
- African Violet — Root a healthy leaf with its stem in water or moist soil. A new plantlet will emerge from the base of the stem in four to eight weeks
- Strawberry Begonia — Pin the runner plantlets into small pots of soil while still connected to the parent. Once rooted, cut the runner stem
Common Propagation Mistakes to Avoid
The most common reason propagation fails is impatience. Some cuttings take weeks or even months to root, and repeatedly checking or disturbing them slows the process. Other frequent mistakes include using dull or dirty cutting tools that crush stems and introduce bacteria, taking cuttings from unhealthy or stressed parent plants, placing cuttings in direct sunlight which causes heat stress, and transplanting water-rooted cuttings into soil too roughly, which breaks delicate new roots. With practice and patience, your success rate will improve dramatically, and you will develop an intuitive sense for which methods work best for each species in your collection.
💡 Tip
Always use clean, sharp scissors or a sterile blade when taking cuttings. Dirty tools introduce bacteria and fungi that can kill cuttings before they root. Wipe blades with rubbing alcohol between cuts, especially when moving between different plants.
⚠️ Warning
Patience is essential. Some cuttings take weeks or even months to root, especially woody-stemmed plants and those taken during less-than-ideal seasons. As long as the cutting still looks healthy and green, it may still be developing roots underground. Resist the urge to pull it out and check — every disturbance sets the rooting process back.



Only logged-in users can comment
Sign in or create a free account to join the conversation — it takes less than a minute.