

What Ollas Are and How They Work
An olla (Spanish for 'pot', pronounced oh-ya) is an unglazed clay vessel with a narrow neck and a bulbous body, buried in the soil with only the neck exposed above ground. When filled with water, the porous clay allows water to seep slowly into the surrounding soil through capillary action and soil moisture tension. The key insight is that water only seeps out when the surrounding soil is drier than the clay — once the soil reaches equilibrium moisture, seepage stops automatically. This creates a self-regulating irrigation system that delivers water only when plants need it, directly to the root zone.
The technology is ancient — ollas have been used for at least 4,000 years in China, India, Iran, and the Roman Empire, and were independently developed by indigenous peoples in the Americas. The efficiency is remarkable: studies by agricultural researchers have shown that olla-irrigated plots use 50 to 70 percent less water than surface-irrigated plots producing the same yield, because no water is lost to evaporation, runoff, or percolation below the root zone. For water-stressed regions and gardeners who want to reduce water use, ollas are one of the most effective irrigation technologies available.
💡 Tip
The same physics applies to smaller clay watering spikes (often sold as 'plant nanny stakes' or 'automatic watering stakes'). These are 10 to 15 centimeters long, fit into a wine bottle or plastic bottle, and work on the same principle as ollas but at smaller scale. They are ideal for individual potted plants, while full-sized ollas (1 to 10 liters) are better for raised beds and garden plots.
Sizing and Placement
The water-dispersion radius of an olla depends on its size and the soil type. In loamy garden soil, a 5-liter olla waters a circle of about 60 centimeters radius (1.2 meters diameter). In sandy soil, the radius is smaller (about 45 centimeters) because water drains downward rather than spreading laterally. In clay soil, the radius is larger (about 75 centimeters) but the seepage rate is slower. As a general rule, size the olla so that its watering diameter matches the spacing of the plants it will water.
Bury the olla so that the neck extends 2 to 5 centimeters above the soil surface (to prevent soil and debris from washing into the pot). The body of the olla should be at the same depth as the plant root zone — for most vegetables, 20 to 30 centimeters deep. Place plants within 30 to 60 centimeters of the olla so their roots can reach the moist zone. Plants will naturally grow their roots toward the olla, sometimes wrapping around it completely — this is fine and shows the system is working.
⚠️ Warning
Do not place the olla too close to plant stems. The soil immediately adjacent to the olla (within 5 centimeters) stays constantly saturated, which can rot the stem of plants placed too close. Maintain at least 15 centimeters between the olla surface and the nearest plant stem. This is especially important for plants prone to stem rot like tomatoes, peppers, and squash.
DIY Olla Alternatives
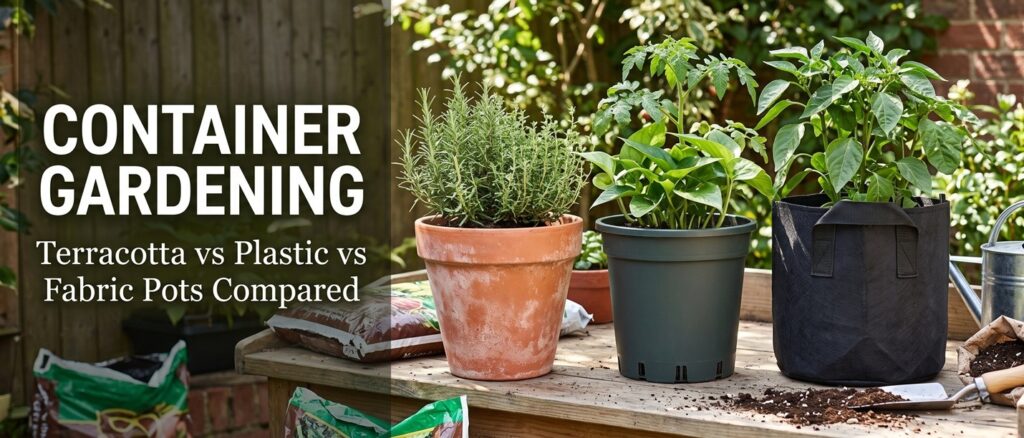
Commercially made ollas cost $20 to $60 each depending on size, which adds up quickly for a large garden. Two DIY alternatives work nearly as well. The first is the 'two-pot olla': take two unglazed terracotta flower pots of the same size, plug the drainage hole of one with silicone caulk or a rubber stopper, and silicone the rims of the two pots together to form a sealed bulb. Bury with the unsealed drainage hole facing up as the refill point, and cover with a saucer or stone to prevent evaporation and mosquito entry. Total cost: $5 to $10 per olla.
The second DIY option is even simpler: use a single unglazed terracotta pot with its drainage hole plugged, buried upside-down so the pot's base becomes the lid. This is less efficient than a true olla (the refill opening is small and the water capacity is limited by the pot size), but it works for small applications. For a single plant, an unglazed 15-centimeter pot buried upside-down next to a tomato or pepper plant provides a steady water supply for 3 to 5 days between refills. Scale up to 25-centimeter or 30-centimeter pots for larger plants or longer intervals between refills.
DIY olla construction steps:
- Materials: 2 unglazed terracotta pots (same size), silicone caulk, rubber stopper
- Plug the drainage hole of one pot with rubber stopper, seal with silicone
- Apply a bead of silicone around the rim of both pots
- Press the rims together, aligning them carefully
- Let cure for 24 hours before burying
- Bury with the unsealed drainage hole facing up
- Cover the hole with a saucer or stone to reduce evaporation
Best Plants for Olla Irrigation
Ollas work best with plants that have moderate to deep root systems and consistent water needs. The ideal candidates are fruiting vegetables that produce heavily over a long season: tomatoes, peppers, eggplant, squash, zucchini, cucumber, melons, and okra. These plants have root systems that grow deep enough to reach the moist zone around the olla, and they reward consistent moisture with steady fruit production. A single 5-liter olla next to a tomato plant can maintain even soil moisture for 5 to 7 days between refills, producing better fruit set and fewer cases of blossom-end rot.
Ollas work less well for shallow-rooted crops (lettuce, spinach, herbs, radishes) because these plants cannot reach the moist zone around the olla. For these crops, surface watering or drip irrigation remains more effective. Ollas also do not work for root crops (carrots, beets, potatoes) because the constantly moist zone immediately around the olla can rot the developing roots. For mixed plantings, combine ollas for deep-rooted plants with surface drip irrigation for shallow-rooted plants.
Maintenance and Winter Care
Ollas require minimal maintenance but a few tasks keep them working well. Refill every 3 to 7 days depending on weather and plant water use — check by removing the lid and looking inside. In freezing climates, ollas must be dug up and stored indoors for winter, because water inside the clay will freeze and crack the pot. In mild climates (most of India, Mediterranean, southern US), ollas can be left in place year-round. Even in cold-winter regions, ollas can be left in place if drained completely before the first hard freeze.
Over time, mineral deposits (calcium, magnesium) build up on the inside of the olla, reducing its porosity. Once a year, scrub the inside of the olla with a stiff brush and a 1:1 vinegar-water solution to dissolve mineral deposits. If the olla becomes contaminated with algae or bacteria (visible as a green or brown slime inside), rinse with a 10 percent bleach solution, then flush thoroughly with clean water. With basic care, a quality olla lasts 10 to 20 years.
💡 Tip
Drop a small piece of mosquito dunk (Bacillus thuringiensis israelensis, or Bti) into each olla at the start of the season. Bti is a biological larvicide that kills mosquito larvae but is harmless to plants, animals, and humans. This prevents ollas from becoming mosquito breeding sites during the monsoon or in humid climates. One dunk treats an olla for 30 days.
Only logged-in users can comment
Sign in or create a free account to join the conversation — it takes less than a minute.