

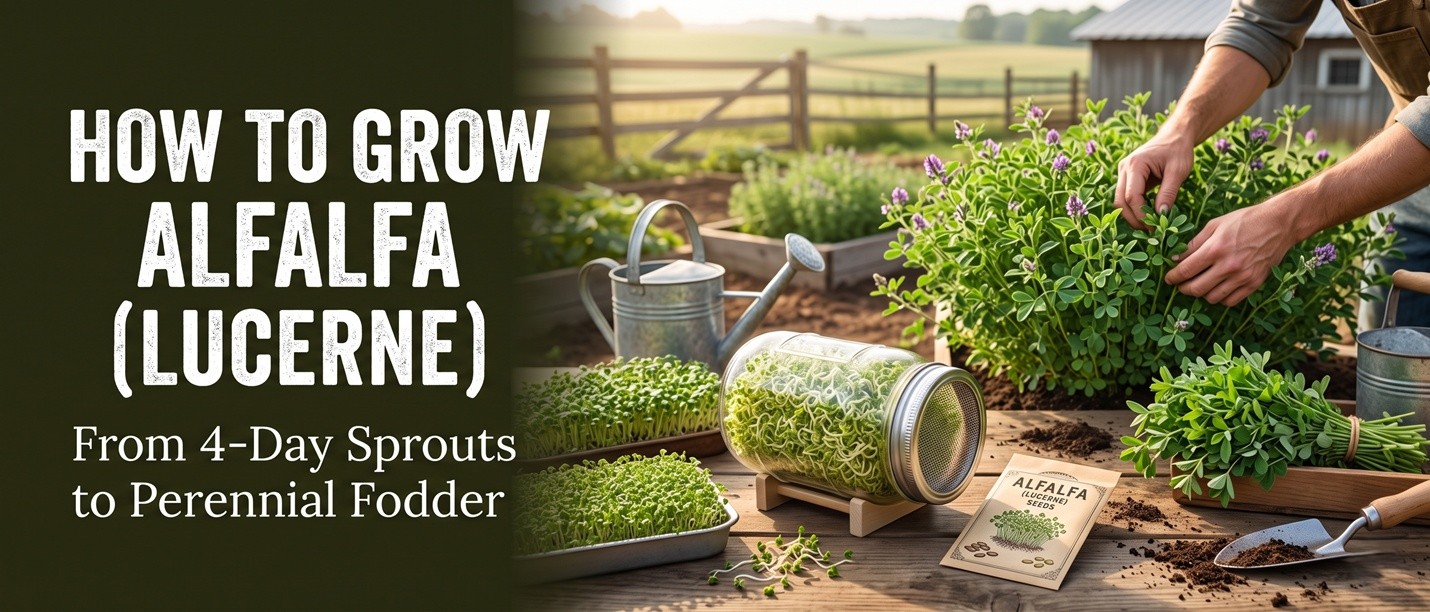
Two Crops, One Plant: Sprouts vs Perennial Stands
Alfalfa (Medicago sativa), also called lucerne, is a legume native to Central Asia that has been cultivated for over 6,000 years as livestock fodder. The same plant gives us two very different home-growing opportunities: 4-day sprouts grown in a jar on the kitchen counter, and 4-to-7-year perennial stands grown in garden beds for green manure, mulch, or rabbit and poultry feed. The two crops use the same seeds but require completely different techniques.
Alfalfa sprouts are one of the most nutrient-dense foods you can grow — 100 grams of sprouts contain 4 grams of protein, 3 grams of carbohydrate, vitamins K, C, and most B vitamins, plus significant amounts of iron, magnesium, phosphorus, and zinc. They are also one of the cheapest: a tablespoon of alfalfa seeds costs pennies and produces 2 to 3 cups of sprouts in 4 days. The perennial stand, on the other hand, fixes 100 to 200 kilograms of nitrogen per acre per year, produces 4 to 6 cuttings of high-protein fodder, and improves soil structure with its deep taproot that can reach 4 to 6 meters.
💡 Tip
Only buy seeds explicitly labeled for sprouting. Field alfalfa seed is sometimes treated with fungicides or inoculants that are unsafe for human consumption. Look for the words 'sprouting seed' or 'organic' on the packet, and rinse the seeds thoroughly before starting.
Sprouting Alfalfa in a Mason Jar
Alfalfa sprouts are the easiest and fastest home sprouting project. You need a clean one-liter glass jar, a piece of cheesecloth or a mesh sprouting lid, and one tablespoon of alfalfa seeds. Add the seeds to the jar, cover with cool water, and let soak for 8 hours or overnight. Drain, rinse with fresh water, and drain again thoroughly. The seeds should be damp but not sitting in water — standing water causes rot.
Place the jar upside-down at a 45-degree angle in a bowl or dish rack so that excess water can drain out and air can circulate. Keep the jar out of direct sunlight at room temperature (20 to 25 degrees Celsius). Rinse and drain the seeds twice a day (morning and evening) for 4 days. On day 4, place the jar in indirect sunlight for a few hours — this greens up the sprouts by triggering chlorophyll production. The sprouts are ready when they are 2 to 4 centimeters long with small green leaves. They keep in the refrigerator for 5 to 7 days.
⚠️ Warning
Home-sprouted alfalfa has been linked to foodborne illness because the warm, humid sprouting conditions are also ideal for salmonella and E. coli. Reduce risk by buying certified pathogen-free sprouting seed, rinsing thoroughly twice daily, never eating sprouts that smell musty or look slimy, and avoiding sprouts entirely if you are pregnant, elderly, or immunocompromised. The risk is small but real.
Growing Perennial Alfalfa in Beds
If you want a permanent bed of alfalfa for green manure, mulch production, or livestock feed, the approach is entirely different. Alfalfa is a deep-rooted perennial that thrives in well-drained soil with a pH between 6.5 and 7.5. It hates acidic soil and waterlogging. Before sowing, work 2 to 3 kilograms of compost and 200 grams of agricultural lime per square meter into the bed, and ensure drainage is excellent. Alfalfa will not survive in heavy clay that stays wet for more than 24 hours after rain.
Sow seeds directly in the bed at 2 centimeters depth, spaced 15 centimeters apart in rows 30 centimeters apart, or broadcast at 20 grams per square meter and rake in lightly. Water gently and keep the soil moist until germination (7 to 10 days). Seedlings grow slowly for the first 6 to 8 weeks while they establish their taproot — be patient and keep weeds controlled. Once established, alfalfa is extremely drought-tolerant and will outcompete most weeds. The first cutting can be taken when plants reach 30 to 40 centimeters tall, about 60 to 80 days after sowing.
The Cutting Schedule That Maximizes Yield
Alfalfa produces the highest total yield when cut at the early-bloom stage — when about 10 percent of the stems show flowers. Cutting earlier produces higher-quality but lower-yielding fodder; cutting later produces more bulk but lower protein and digestibility. For home gardeners, the practical schedule is to cut the entire stand down to 5 centimeters above the soil every 28 to 35 days during the growing season. Each cutting yields 1 to 2 kilograms of fresh fodder per square meter.
After each cutting, water deeply and apply a light top-dressing of compost. The plants will regrow rapidly, producing a new crop in 3 to 4 weeks. Stop cutting 6 weeks before the first expected frost to allow plants to store carbohydrates in their roots for winter — this is critical for survival. The stand will die back to the ground in winter and regrow from the crown the following spring. Expect 4 to 6 cuttings per year in temperate climates, 6 to 8 in subtropical climates with irrigation. Productive stand life is 4 to 7 years; after that, yields decline and the bed should be rotated.
💡 Tip
If you keep chickens, rabbits, or goats, fresh-cut alfalfa is one of the highest-protein green feeds you can grow — 18 to 22 percent crude protein on a dry-weight basis. Hang small bundles in their enclosure and let them eat fresh. Dry the rest in thin layers in the sun for 2 to 3 days and store as hay for winter feed.
Alfalfa as a Green Manure and Cover Crop
Even if you do not need the fodder, alfalfa is worth growing as a green manure. As a legume, it fixes atmospheric nitrogen through symbiotic bacteria in root nodules, adding 100 to 200 kilograms of nitrogen per acre per year to the soil. The deep taproot brings up minerals from subsoil layers and improves soil structure. A stand of alfalfa left for 2 to 3 years leaves the soil dramatically richer and better structured than before.
To use as a green manure, sow in spring, let grow for one full season, and till the entire stand into the soil at the end of the following spring, just as new growth begins. The nitrogen-rich foliage decomposes rapidly, releasing nutrients for the next crop. Alternatively, grow alfalfa in strips between vegetable beds as a living mulch — the roots improve soil and the cuttings can be used as mulch around vegetables. Either way, the soil benefits enormously from even one year of alfalfa.


Only logged-in users can comment
Sign in or create a free account to join the conversation — it takes less than a minute.