
Why Repotting Matters
Repotting is one of the most important yet often overlooked aspects of plant care. Over time, potting soil loses its nutrients, breaks down, and becomes compacted, reducing the oxygen available to roots. Roots may also outgrow their container, circling the pot and becoming root-bound, which stunts growth and makes the plant more vulnerable to disease. Regular repotting refreshes the growing medium, provides space for root expansion, and gives you the opportunity to inspect the root system for signs of rot or pests. Most houseplants benefit from repotting every twelve to eighteen months, though fast-growing species may need it sooner while slow growers like succulents can wait two to three years between repotting sessions.
Beyond the practical benefits, repotting is also an opportunity to refresh your plants aesthetic. A new pot can complement your interior decor, and fresh soil gives the foliage a noticeable boost in vibrancy within just a few weeks. Many plant parents are surprised by how quickly a struggling plant perks up after being moved to a properly sized container with fresh, nutrient-rich potting mix.
Signs Your Plant Needs Repotting
Look for these clear indicators that your plant is ready for a new home:
- Roots growing out of drainage holes at the bottom of the pot — this is the most obvious sign that the current container is too small
- Water runs straight through the pot without being absorbed — compacted soil has lost its ability to retain moisture
- The plant dries out much faster than it used to despite regular watering — the root-to-soil ratio has shifted too far
- Visible salt buildup or white crust on the soil surface — excess minerals from fertilizer and hard water are accumulating
- The plant is top-heavy and keeps tipping over — the root system can no longer anchor the above-ground growth
- Growth has slowed significantly despite proper light and feeding — the plant has exhausted available resources in its current soil
- Roots are densely circling the inside of the pot when you gently remove the plant from its container
Choosing the Right Pot
Select a pot that is only one to two inches larger in diameter than the current one. Going too big too fast leads to excess soil that holds too much moisture, dramatically increasing the risk of root rot. Always choose a pot with drainage holes — this is non-negotiable for healthy root development. Without drainage, water accumulates at the bottom of the pot creating a soggy, oxygen-deprived zone where roots suffocate and decay.
Materials matter too. Terracotta is porous and helps soil dry out faster, making it excellent for succulents, cacti, and plants prone to overwatering. Ceramic pots with drainage holes retain moisture longer, which is good for tropical plants like ferns and calatheas. Plastic is lightweight, inexpensive, and retains moisture the longest — ideal for moisture-loving species but dangerous for drought-tolerant ones. Whatever material you choose, always place a saucer beneath the pot to protect your surfaces and empty it within thirty minutes of watering.
Selecting the Right Soil
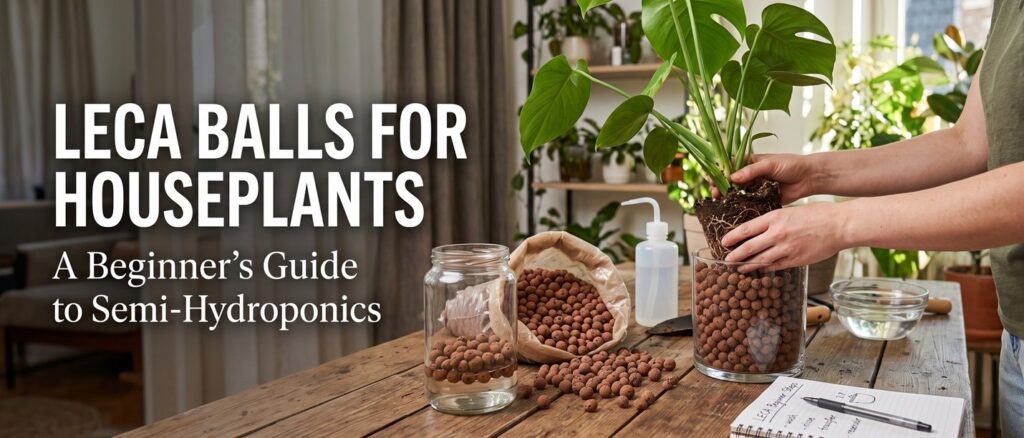
Using the correct potting mix is just as important as choosing the right pot. Never use garden soil from outdoors — it is too heavy, compacts in containers, and may contain pests, diseases, or weed seeds. Standard indoor potting mix works for most houseplants. For succulents and cacti, use a fast-draining cactus mix or add extra perlite and coarse sand to standard potting soil. For orchids, use chunky bark-based orchid mix that allows air to reach the roots. For tropical foliage plants, consider adding perlite and orchid bark to improve drainage and aeration.
Step-by-Step Repotting Process
Follow these steps for a smooth, stress-free repotting experience:
- Water the plant a day before repotting to make root separation easier and reduce transplant shock
- Gently remove the plant by tipping the pot on its side and supporting the base of the stem — never yank it out by the stem
- Loosen the root ball with your fingers, carefully untangling any circling roots and trimming dead or mushy roots with clean scissors
- Add a layer of fresh potting mix to the bottom of the new pot, deep enough so the plant sits at the same level it was before
- Place the plant in the center and fill around the sides with fresh soil, gently firming it to eliminate large air pockets without compacting it
- Water thoroughly until water drains from the bottom, then let the pot drain completely before placing it on its saucer
- Keep the plant out of direct sunlight for a few days to let the roots recover from the disturbance
Aftercare: Helping Your Plant Adjust
After repotting, your plant needs a brief recovery period. Expect some wilting or slight leaf droop for the first few days — this is normal transplant shock and should resolve within a week. Avoid fertilizing for at least four to six weeks after repotting since fresh potting soil already contains nutrients and adding fertilizer too soon can burn delicate new root growth. Water when the top inch of soil feels dry, and keep the plant in its usual spot rather than moving it to a new location while it recovers.
💡 Tip
Most houseplants benefit from repotting every twelve to eighteen months. Fast-growing plants may need it sooner, while slow growers like succulents can wait two to three years. The best time to repot is spring and early summer when the plant is entering its active growing phase.
⚠️ Warning
Avoid repotting during the dormant winter period unless absolutely necessary. Winter repotting can shock a resting plant and slow its recovery significantly. Also, never repot a plant that is already stressed from pests, disease, or extreme temperatures — stabilize the plant first, then repot once it has recovered.

Only logged-in users can comment
Sign in or create a free account to join the conversation — it takes less than a minute.