

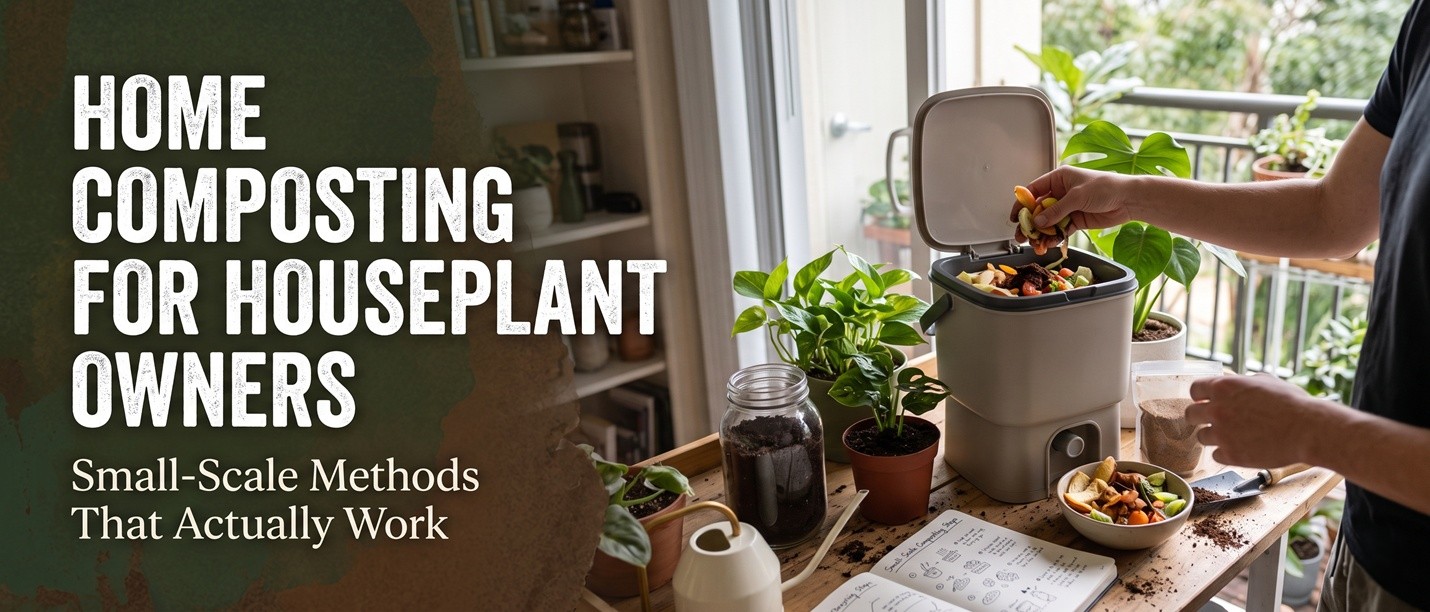
Why Houseplant Owners Should Compost
Every kitchen generates plant food that most people throw away. Vegetable peels, coffee grounds, tea leaves, fruit scraps, and eggshells are rich in the nitrogen, phosphorus, potassium, and trace minerals that houseplants need. Composting converts this 'waste' into a stable, dark, earthy-smelling amendment that improves soil structure, holds moisture, and feeds plants slowly over months. There is no commercial fertilizer that matches the breadth of nutrients in well-made compost.
The traditional objection to composting — that it requires a backyard, smells bad, and attracts pests — is based on outdated methods. Modern small-space composting systems work in apartments, on balconies, and even under kitchen sinks, with no odor when properly maintained. This guide covers five methods that are practical for houseplant owners, ranked roughly by space requirement and effort.
💡 Tip
Start with one method and observe for two months before adding another. Most failed composting setups happen because people over-commit to a system that does not fit their lifestyle. Pick the method that matches your space and habits, master it, then expand if you want more capacity.
Method 1: Bokashi — The Indoor Anaerobic Option
Bokashi is a Japanese composting method that uses anaerobic fermentation rather than aerobic decomposition. Kitchen scraps are layered with a bran inoculated with lactobacillus bacteria in an airtight bucket. The bacteria ferment the waste in 2–3 weeks, producing a pickled smell (somewhere between sauerkraut and vinegar) rather than a rotting smell. The bucket lives under the kitchen sink or in a closet.
Bokashi is the only indoor method that handles ALL kitchen waste, including meat, dairy, and oils that other methods cannot process. The trade-off is that the fermented product is not finished compost — it must be buried in soil for another 2–4 weeks to finish breaking down. For apartment dwellers this means having a balcony planter or large pot dedicated to finishing the bokashi, or burying it in a friend's garden.
Bokashi setup and process:
- Buy a bokashi bucket with a spigot at the bottom for draining liquid, plus a bag of bokashi bran (about $30 total for a starter kit).
- Add a 2 cm layer of bran to the bottom of the bucket, then start adding kitchen scraps in thin layers.
- Sprinkle bran over each layer of scraps (about 1 tablespoon per 5 cm of scraps) and press down firmly to exclude air.
- Seal the bucket airtight after each addition. Drain the liquid (bokashi 'tea') every 3–4 days through the spigot — dilute 1:100 with water as a liquid fertilizer.
- When the bucket is full, seal it airtight and let it ferment in a warm dark place for 2 weeks.
- After fermentation, bury the contents in soil (a planter or garden bed) for another 2–4 weeks. The finished material will be unrecognizable as soil amendment.
Method 2: Vermicomposting — Worms Do the Work
Vermicomposting uses red wiggler worms (Eisenia fetida) to eat kitchen scraps and produce worm castings — one of the most potent organic fertilizers available. A properly maintained worm bin has no odor and produces both solid castings (used like compost) and 'worm tea' (a liquid fertilizer made by steeping castings in water). The bin can live in a closet, basement, or balcony.
Worm bins are sized by surface area rather than depth, because worms feed in the top 15 cm. A 30 x 45 cm bin can process about 1 kg of kitchen scraps per week — enough for a small household. The worms reproduce to match the food supply, so you start with 250–500 worms and the population grows to several thousand within months. After 3–4 months, you can begin harvesting castings.
⚠️ Warning
Red wigglers are tropical worms and cannot survive freezing temperatures. If your worm bin is on a balcony or in an unheated garage, you must bring it indoors before temperatures drop below 10°C. Conversely, temperatures above 30°C will kill the worms — keep the bin in shade during heat waves.
Method 3: Balcony Tumbler — For Outdoor Composting
If you have a balcony, terrace, or small yard, a compost tumbler is the lowest-effort option. A tumbler is a sealed drum mounted on a frame that you rotate every few days to mix the contents. The sealed design keeps out rodents and retains heat, and the rotation eliminates the need to manually turn the pile with a fork. Finished compost is ready in 6–10 weeks in summer, longer in cool weather.
Tumblers work best when you fill them all at once (the 'hot compost' method) rather than adding scraps gradually. To do this, save kitchen scraps in a sealed container in the freezer for 2–3 weeks, then add them all to the tumbler at once along with shredded cardboard or dry leaves to balance the carbon-nitrogen ratio. The mass heats up to 50–60°C within a day and decomposes rapidly.
Method 4: Electric Composters — The Convenient Option
Electric kitchen composters (brands like Lomi, FoodCycler, Pela) grind and dehydrate kitchen waste in 4–8 hours, producing a dry, odorless material that can be added to potting soil as a slow-release amendment. These devices fit on a countertop, plug into a standard outlet, and require no maintenance beyond emptying the bin every few cycles.
The output of an electric composter is not technically compost — it is dehydrated, partially broken-down food waste that still needs to interact with soil microbes to release its nutrients. Mix it into potting soil at 10–20% by volume and let it sit for a week before planting. The advantage over other methods is speed and convenience; the disadvantage is cost ($300–500 per unit) and electricity use (about 1 kWh per cycle).
Method 5: Trench Composting — The Simplest Outdoor Method
If you have any outdoor soil — even a small garden bed — trench composting is the simplest possible method. Dig a trench 20–30 cm deep, add kitchen scraps, and cover them with the soil you removed. The scraps decompose underground over 4–8 weeks, leaving rich soil in place. There is no bin to maintain, no turning, no harvesting — the soil microorganisms and earthworms do everything.
Trench composting works best when you have a garden bed that is between plantings or being prepared for the next season. The classic approach is to rotate trench positions through the garden over a year, so each section gets a trench of compost every 3–4 years. For houseplant owners, a single trench in a small outdoor bed can produce enough rich soil to topdress a large collection of potted plants.
Using Compost on Houseplants
Finished compost is the perfect topdressing for houseplants. Every 2–3 months, add a 1 cm layer of compost to the top of each pot, gently working it into the surface. Water as usual — the compost releases nutrients slowly with each watering and improves soil structure as it integrates. For new plantings, mix compost into potting soil at 20–30% by volume to give plants a slow-release nutrient source for the first 3–6 months.
Worm castings are even more potent than regular compost and can be used at lower rates — 5–10% by volume in potting mixes, or as a topdressing at 5 mm thickness. For a quick nutrient boost, make worm tea by steeping a handful of castings in a liter of water for 24 hours, then watering plants with the resulting liquid. Worm tea must be used immediately (within 24 hours) because the beneficial microbes die off quickly once the food source is exhausted.
💡 Tip
Never use unfinished compost on houseplants. If the material is still recognizable as food scraps, smells sour or of ammonia, or is warm to the touch, it needs more time. Unfinished compost can burn plant roots, attract fungus gnats, and introduce pathogens. Wait until the material is dark, crumbly, and smells like forest soil.


Only logged-in users can comment
Sign in or create a free account to join the conversation — it takes less than a minute.