

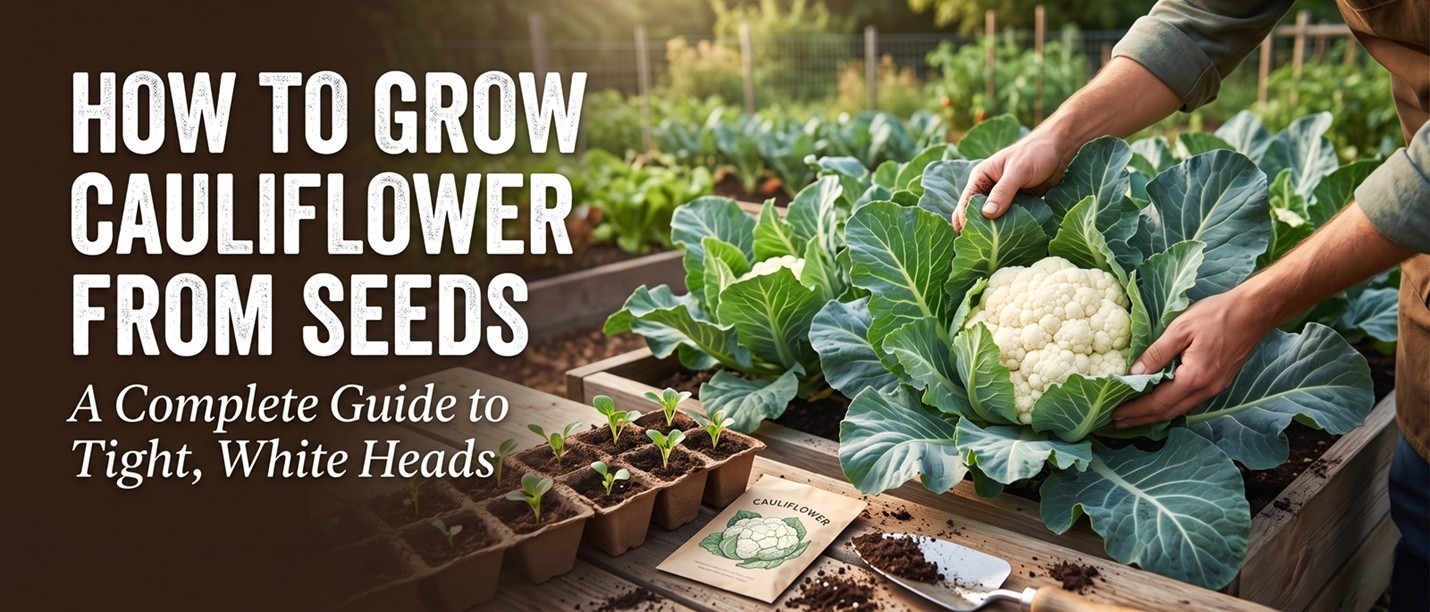
Why Cauliflower Has a Reputation for Being Difficult
Cauliflower is a cool-season brassica that originated in the Mediterranean and was bred for centuries to produce a tight, white curd (the edible flower head). What makes it demanding is that the curd only forms properly within a narrow temperature band — roughly 15 to 20 degrees Celsius — and any significant heat, cold shock, drought, or nutrient stress during head formation causes it to become loose, leafy, or bitter. Gardeners in temperate climates can take this stability for granted; gardeners in tropical and subtropical climates have to plan carefully around the weather.
The other challenge is that cauliflower grows slowly. From sowing the seed to harvesting the head takes 75 to 120 days depending on variety, which means the plant has to stay healthy through three to four months of changing weather. A single hot week in what should be a cool month can ruin a crop. The good news is that with the right variety selection, careful timing, and a few specific cultural practices, even warm-climate gardeners can produce tight, sweet, homegrown cauliflower heads that taste nothing like the rubbery supermarket specimens.
💡 Tip
If this is your first cauliflower crop, choose a hybrid variety bred for warm-climate tolerance such as Pusa Snowball, Pusa Hybrid-2, or Early Snowball. These varieties form heads in 75 to 90 days and tolerate temperature swings much better than European heirlooms. Save the heirlooms for after you have a successful harvest under your belt.
Choosing the Right Sowing Window
Timing is the single most important decision in cauliflower growing. The curd forms during the last 25 to 35 days of the crop, and that window must coincide with cool weather. In North India and similar subtropical climates, sow seeds from late September to early November so that head formation falls in December and January. In South India and tropical lowlands, sow from October to November for a December to February harvest. In hill stations above 1,500 meters, cauliflower can be grown year-round, with the best crops from spring and autumn sowings.
Sowing too early exposes seedlings to hot monsoon tail-end weather, which causes buttoning — the formation of tiny, button-sized heads on stunted plants. Sowing too late means the head forms when temperatures are already rising in spring, producing loose, leafy, ricey curds. The sweet spot is to count 80 to 100 days backward from your coolest average daily temperature and sow around that date. For most Indian plains, this falls in October.
⚠️ Warning
Never sow cauliflower seeds in the height of summer (April to August in plains). Even heat-tolerant hybrids will button or bolt if seedlings experience temperatures above 30 degrees Celsius during their first three weeks. If you must experiment, do it in a single tray in partial shade and accept that the success rate will be 30 percent or lower.
Starting Seeds and Transplanting
Cauliflower seeds are small but easy to germinate. Start them in seedling trays filled with a sterile, lightweight seed-starting mix (one part coco coir, one part vermiculite, one part compost). Sow two seeds per cell at a depth of 1 centimeter, water gently, and keep the tray in a warm, bright spot out of direct sun. Germination takes 4 to 7 days. Once seedlings have their first true leaf, thin to one plant per cell by snipping the weaker seedling at soil level (do not pull, as this disturbs the roots of the keeper).
Seedlings are ready to transplant at 4 to 6 weeks old, when they have 4 to 5 true leaves and are about 10 to 15 centimeters tall. Harden them off by reducing water slightly and exposing them to direct sun for a few hours a day over 4 to 5 days. Transplant into beds or large containers (at least 30 centimeters deep and wide) spaced 45 to 60 centimeters apart. Plant slightly deeper than the seedling was in the tray, burying the stem up to the first true leaves — this encourages extra anchor roots.
Soil, Fertilizer, and Water
Cauliflower is a heavy feeder that demands rich, well-drained soil with a pH between 6.0 and 7.0. Before transplanting, work 4 to 5 kilograms of well-rotted compost or farmyard manure into each square meter of bed, along with 50 grams of bone meal and 30 grams of a balanced NPK fertilizer. Cauliflower has a high demand for nitrogen during leaf growth and a high demand for potassium and boron during curd formation. A boron deficiency produces hollow stems and brown curd — prevent it by adding a teaspoon of borax per square meter at planting.
Water is non-negotiable. Cauliflower has shallow roots and cannot tolerate drying out, even for a single day. The soil must be kept evenly moist at all times — neither soggy nor dry. A 5-centimeter layer of straw mulch around the plants helps enormously. Water deeply every 3 to 4 days in cool weather, every 1 to 2 days in warm or windy weather. Inconsistent moisture causes the curd to bolt or become ricey. Drip irrigation is ideal; flood irrigation works but increases disease risk.
💡 Tip
Side-dress with a nitrogen-rich fertilizer (compost tea, diluted urea, or an organic all-purpose feed) three weeks after transplanting and again when the curd begins to form. Avoid high-nitrogen feeds once the head is golf-ball sized — too much nitrogen at this stage produces loose, leafy curds. Switch to a potassium-rich feed such as wood ash or a bloom-boosting fertilizer.
Blanching: The Step Most Beginners Miss
Most home-grown cauliflower heads turn yellow-green and develop a bitter taste because gardeners do not blanch them. Blanching is the practice of shielding the developing curd from sunlight. Sunlight triggers chlorophyll production in the curd, which is technically a dense cluster of flower buds — left exposed, it greens up and turns bitter. Commercial cauliflower is bred to self-wrap (the leaves curl over the curd naturally), but many open-pollinated varieties need manual blanching.
When the curd reaches the size of a golf ball (about 5 centimeters across), gather the surrounding leaves and tie them together at the top with twine or a rubber band, completely covering the curd. Alternatively, break a couple of inner leaves and lay them over the curd. Check the head every 2 to 3 days — if any light is reaching the curd, adjust the leaves. The head will be ready to harvest 7 to 14 days after blanching, depending on temperature. Self-blanching hybrid varieties skip this step, which is one reason commercial growers prefer them.
⚠️ Warning
Blanching leaves tied too tightly trap moisture and cause the curd to rot from the inside within days. Tie them loosely enough that air can circulate but no direct light reaches the curd. If you live in a humid climate, skip tying and instead break and lay leaves over the curd — this allows more airflow and reduces rot risk.
Pests and Diseases
Cauliflower is a brassica, which means it is attacked by every brassica pest in the book. The big four are cabbage white butterfly caterpillars, aphids, diamondback moth caterpillars, and cabbage root maggot. Cabbage white caterpillars are the most damaging — they chew large ragged holes in leaves and can hollow out a developing curd overnight. Inspect the undersides of leaves weekly for yellow oval eggs and pick off any green larvae by hand. Bacillus thuringiensis (Bt) spray every 10 days is highly effective and organic.
Aphids cluster on the undersides of leaves and on the developing curd, causing distorted growth and transmitting viruses. Spray off with a strong jet of water, follow up with neem oil or insecticidal soap if needed. Diamondback moth caterpillars are tiny green larvae that mine between leaf surfaces; they are best controlled with Bt. Cabbage root maggots attack the roots of seedlings — prevent by collaring the stem with a small circle of tar paper or cardboard at transplanting time. Clubroot, a soil-borne disease that causes swollen distorted roots, is prevented by maintaining soil pH above 7.0 with lime.
Harvesting at the Right Moment
Cauliflower must be harvested at exactly the right moment — too early and the head is small and loose; too late and it becomes ricey, bitter, and starts to flower. The head is ready when it is tight, firm, smooth, and has reached the expected size for the variety (usually 15 to 20 centimeters across for standard types, 10 to 12 centimeters for mini varieties). The surface should look like tightly packed beads of cottage cheese, with no gaps between the curds and no sign of separation.
Cut the head with a sharp knife, leaving 5 to 8 centimeters of stem and a few wrapper leaves attached to protect the curd during transport. Harvest in the morning when the plant is fully hydrated and the curd is crisp. Once harvested, cauliflower loses quality rapidly — refrigerate within an hour and use within 4 to 5 days. Do not leave the harvested head at room temperature, as it develops a strong cabbage smell and bitter taste within hours. After harvesting the main head, some varieties produce small side shoots that can be harvested over the next 2 to 3 weeks.



Only logged-in users can comment
Sign in or create a free account to join the conversation — it takes less than a minute.